As test engineers, we require the correct tools to accomplish what we want. And while often times we prefer to make our own tools which cater to our exact needs, sometimes it is not worth the effort and time to reinvent the wheel.
For this blog post, our goal is to set up a simple WebRTC video conference application, write a multi-role test, and test it using Loadero.
Loadero is a web app end-to-end performance and load testing tool for web services built by engineers at TestDevLab. Read more about the possibilities of Loadero.

In order to accomplish our goal, we’ll be doing the following:
- Set up a simple WebRTC video conference application
- Host it on a public domain using Heroku
- Write local Selenium Nightwatch tests
- Scale up and execute it on Loadero Cloud
Let’s get started – we will be covering each step one at a time!
Setting up initial WebRTC application
For our WebRTC application example, we will be using the Twilio video quickstart application because it offers us a quick way to set up and test a WebRTC application.
Follow the instructions here to set up your video quickstart application. To make our application more meaningful and interesting to test, I have modified it slightly. Users can pass in username with which to join the room.

Our end goal is to have two users join the same room, emulate a media stream for both of them and assert that they can see one another.

Hosting our application on a public domain
Heroku lets us host our application on a public domain. First, you have to associate your application’s local Git repository with a new Git remote, typically named heroku, to which you can then deploy your application by using command git push.
For our application to work, we must bind the default address to 0.0.0.0, set the PORT as an environment variable and edit the start script.
This post doesn’t go deeper into all the nuances of hosting an application on Heroku.
Click here for more information about getting your application Heroku-ready.
Writing our local selenium Nightwatch test
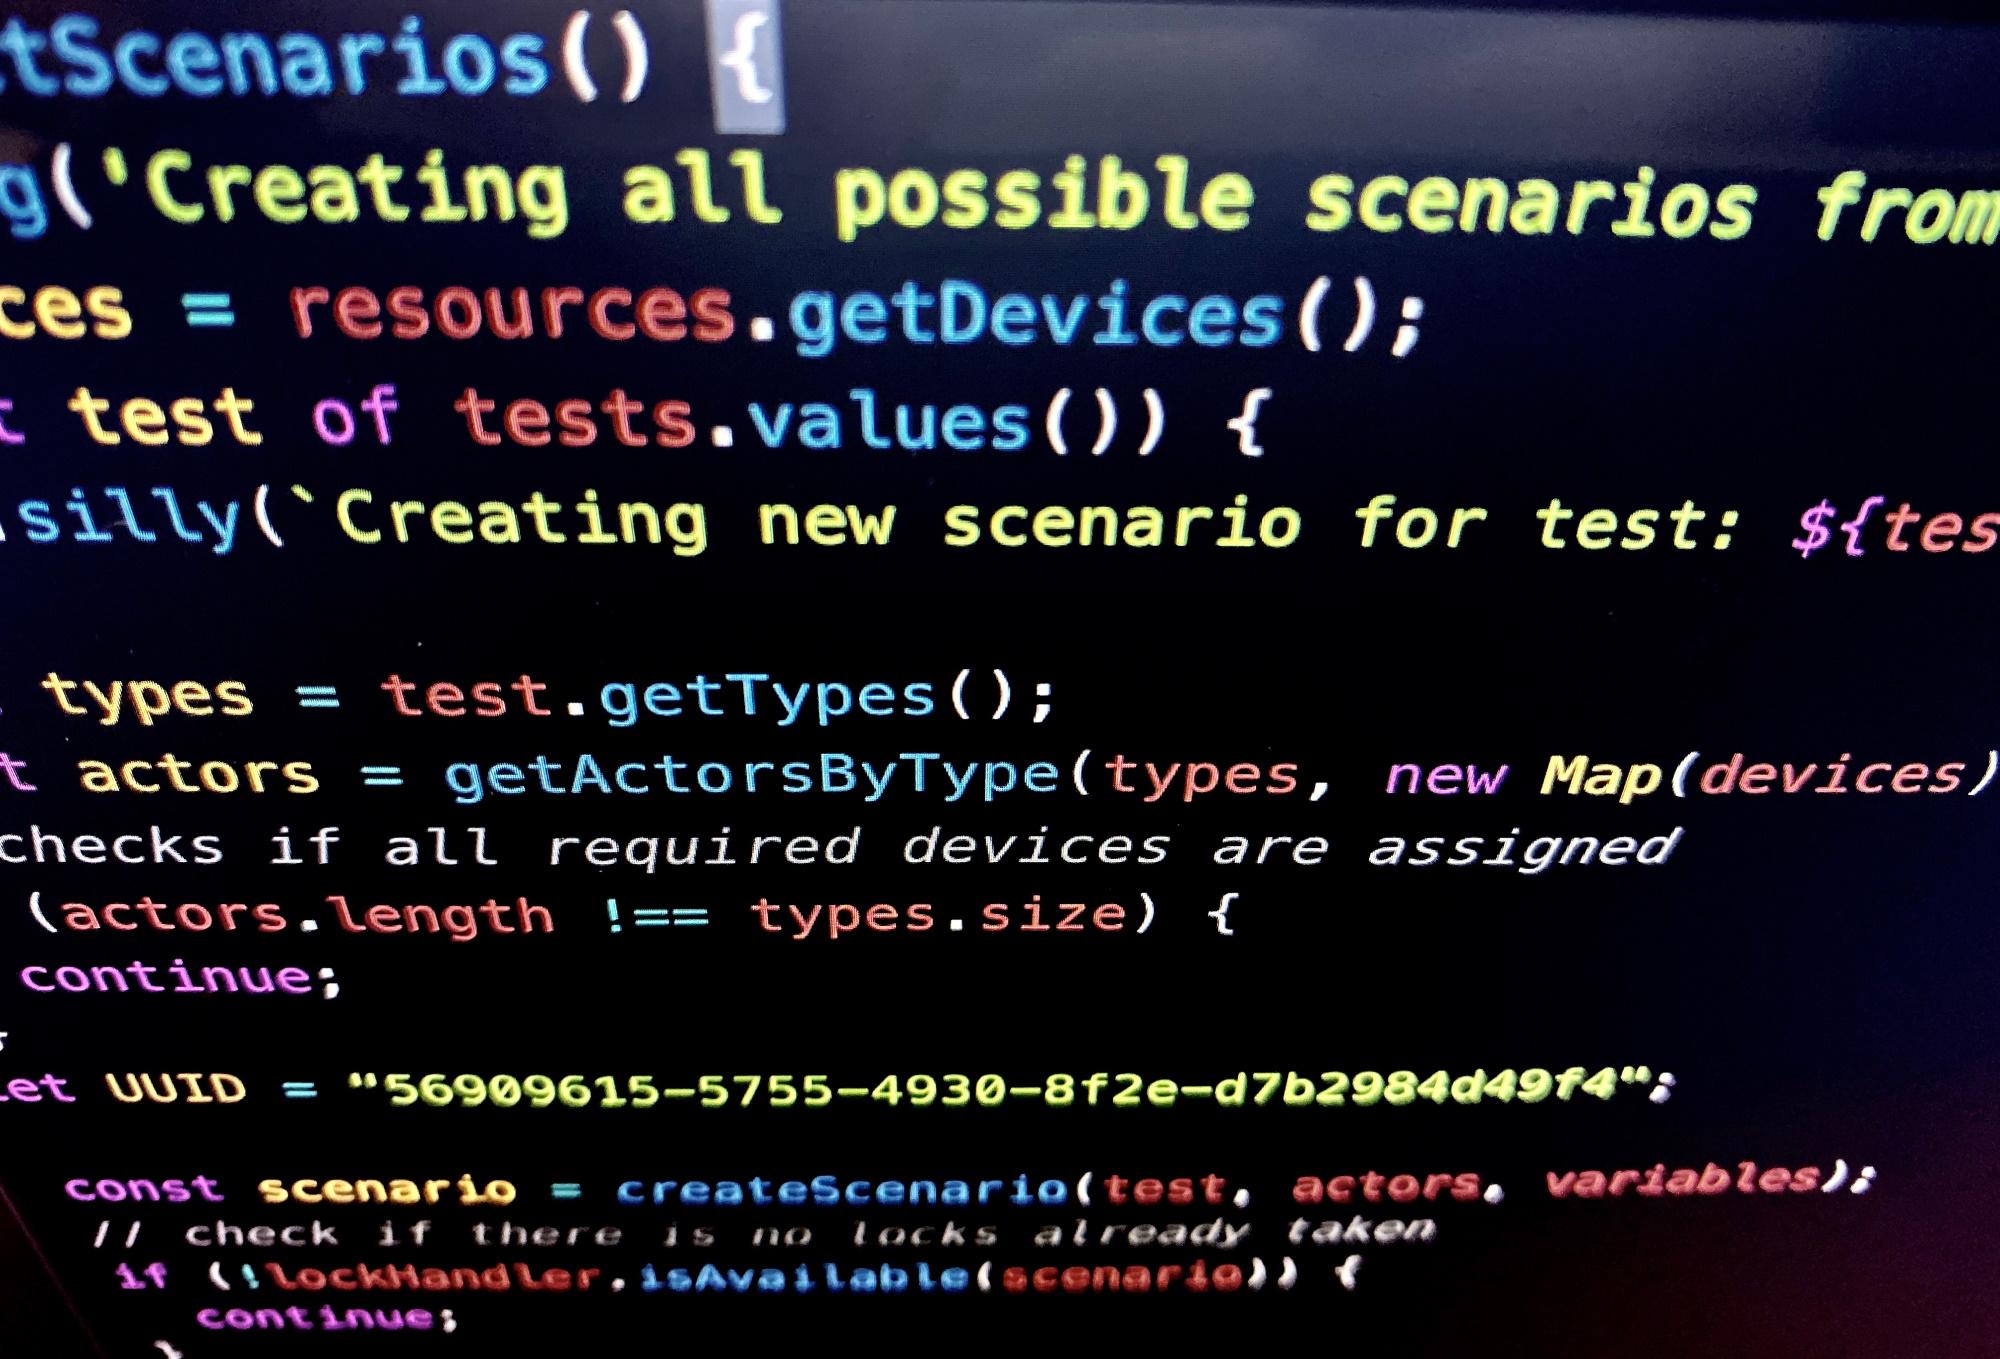
Loadero runs tests using NightwatchJS, so we can write out tests in Javascript while using Nightwatch specific commands. But we are not limited to only that, Loadero itself provides some very handy global methods which we will revisit in a second.
Simple test script for one user:
function(client) {

 const url = 'https://video-qs.herokuapp.com/quickstart/';
 const joinBtn = '#button-join';
 const roomInputField = '#room-name';
 const userInputField = '#user-name';
 const roomName = 'cake-room';
 const userName = `User`;

client
  .url(url)
  .waitForElementVisible("body", 15000)
  .setValue(roomInputField, roomName)
  .setValue(userInputField, userName)
  .click(joinBtn)
  .pause(5000)
  .assert.visible(`//div[@id='log']//p[contains(., "Joining room '${roomName}'")]`)
  .assert.visible(`//div[@id='log']//p[contains(., "Joined as '${userName}'")]`)
}
Nightwatch by default uses CSS locator strategy which is considered superior to xpath in terms of speed, but it has some limitations such as matching text in an element directly.
First, we declare our locators that we are going to reuse which enables us to easily modify them whenever we need. Client in this function refers to the browser instance which will be spawned when the test begins. By executing Nightwatch commands on the client we can control the browser instance programmatically.
While CSS is the preferred locator strategy due to it being less fragile, better readable and faster, sometimes we can’t avoid having to use xpath. Xpath generally is to be used when you need to locate a deeply nested element, but the tag of every parent element is dynamically generated, as it often is in React and Angular applications. In our case, we are using xpath only for demonstration purposes.
We can set up a local Nightwatch environment to test our script. For more information on how to accomplish that you can refer to Nightwatch documentation here.
After executing our test locally we can see that all of our asserts passed and the test was successful.

Scale up our test
At any point during the free trial or after, it is possible to purchase one of the three available premium plans. This in return will lift the trial limitations such as user and time limits, and grant additional functionality like API access, different regions for your tests or even customisable AWS.
Create a new project for our application. Project will hold all the tests and our defined test executors.

After creating our project we can proceed and write our first test. Hit New Test in the top right.

It can seem a bit overwhelming at first, but let’s go through each option. The main body part on the left is where our test script will go after some modifications but we will touch on that a bit later.
- Title – as the name suggests, it is the name of our test case
- Test mode – Loadero offers three test modes: performance, load and session record.
- Performance test mode provides us with all the available metrics and logs, but limits participant count to a maximum of 50.
- Load test mode is the opposite – while it provides fewer metrics, it allows more participants.
- Session recording mode provides recording of the session of each participant. It is useful for debugging your test script.
- Increment strategy lets us control how participants join when our test starts which allows to control the startup load (ex. whether users join steadily or randomly throughout start interval)
- Start interval determines what time all participants should start executing the test and allows us to avoid DDoS attacks to the system when a thousand users join the test at once.
- Participant timeout specifies the time after which the test will be terminated.
- Details tab contains all the test configurations, as well as the test script to execute.
- Asserts tab lets us set performance and network checks to control the result of our test e.g. test should fail if CPU is over 80%.
More information about test configuration parameters can be found in Loadero documentation.
For our needs, we will go with Performance test mode and Linear increment strategy. We will set Participant timeout to 15 minutes in case something does go wrong and a 15 second Start interval in which all participants will start their test execution.
Remember the script we wrote before and executed locally? We can simply reuse it, go ahead and copy it into the script section.
Now that we are done, we can proceed and create our test. Go ahead and press Create Test. Now we have our test, but we have no participants to execute it with, let’s fix that.
Before we can create our participants and their properties, we first must create a group. A group is a container which holds a subset of participants which let us define actions in our script specific to a certain group. For our needs, a single group will suffice.
Create a new group by clicking on the New Test Group button. Group count determines how many identical copies of this specific group we want to add to our test. Let’s name our group test-room and set its count to one.
After creating a group we can add participants to that room.

When creating a participant we can specify various properties.
- Name of the participant, usually a summary that describes this particular participant.
- Number of identical copies of this participant
- Browser and its version. For now, Firefox and Chrome are supported.
- Location specifies the region the participant will be executing the test from
- Network conditions lets us simulate a certain network condition
- Media determines the quality of fake audio and video streams
More information can be found here.
For our test, we have created two different participants.

If we run our test now, both of the participants will execute the script we wrote before in parallel. As you might have guessed we have a slight issue.
Both participants will join the same room with the same name which will result in one participant being kicked out of the room when the other one joins. Also, participants won’t interact with one another so we won’t have confirmation that our application is even working. Let’s fix that.
Loadero provides with global helpers, accessible through client.globals which gives us access to unique identifiers specific to participants, groups and more. In our case, we made the userName dynamic by attaching participant.id to it which we later leverage by ensuring that participant one joins the conference first and waits for the second participant to join. At the end of the test, we will take a screenshot from each participant’s perspective.
Test script for two users:
function(client) {
   const url = 'https://video-qs.herokuapp.com/quickstart/';
   const joinBtn = '#button-join';
   const roomInputField = '#room-name';
   const userInputField = '#user-name';
   const roomName = 'cake-room';
   const userName = `User${client.globals.participant.id}`;

   client
       .url(url)
       .waitForElementVisible("body", 15000)
       .setValue(roomInputField, roomName)
       .setValue(userInputField, userName);

   if(client.globals.participant.id === 0) {
     client
      .click(joinBtn)
      .pause(5000)
      .useXpath()
      .assert.visible(`//div[@id='log']//p[contains(., "Joining room '${roomName}'")]`)
      .assert.visible(`//div[@id='log']//p[contains(., "Joined as '${userName}'")]`)
      .waitForElementVisible(`//div[@id='log']//p[contains(., "Joining: 'User1'")]`, 60000);
   } else {
     client
      .pause(40000)
      .click(joinBtn)
      .pause(5000)
      .useXpath()
      .assert.visible(`//div[@id='log']//p[contains(., "Joining room '${roomName}'")]`)
      .assert.visible(`//div[@id='log']//p[contains(., "Joined as '${userName}'")]`)
      .waitForElementVisible(`//div[@id='log']//p[contains(., "Already in Room: 'User0'")]`, 5000);
  }
  client.takeScreenshot("user${client.globals.participant.id}inRoom");
}
Now our participants interact with one another inside the script. The first participant will wait for the second one to join and will assert that the second participant has joined. Meanwhile, the second participant will assert that someone, in our case – the first participant, is already in the room.
Now we can navigate back to Tests section in the top left and run our test.

Loadero will first prepare the environment and then execute the test. Now we just need to wait for our test to finish. If you navigate to the Results section in the top left, you can see our currently running test as well as all the previous test runs.

This section provides general information about our test runs and their configurations. We can even see the test scripts which were executed.
Once our test is done running we can see that the results are updated.

As we can see, our test passed and the Success rate is 100%. The percentage describes how many of our participants successfully completed the test.
By clicking on View results we can see detailed information about our test run.

Results section offer us information about our test run in general. We can see all of our active participants which executed the test, their results. We can filter them by various criteria, e.g. Browser, to get a better overview.
We can see participant activity in the Load section. In our case, both participants started executing the test at the same time, but participant two finished executing his part of the test script sooner.
Asides from statistics about participants, we are provided with information about the machines on which the browsers were run e.g. CPU and RAM usage.
In Participants section, next to Summary, we can see the list of all the participants who were executing our test.

As we can see, both participants executed the test successfully and didn’t encounter any problems.
If we click on either of the participants, we are provided with more information about this particular participant. Let’s take a look at our first participant.

Similar to the initial report, we are provided with various metrics about the performance of the machine executing the test, as well as participant-specific media, logs and asserts.
Logs section gives us access to all the available logs, which can be extremely helpful for identifying an issue. And there is no prior setup needed on our part to make this happen.

All logs can be downloaded as a text file. Nightwatch logs can be viewed from within the browser.
Media section lets us view all the screenshots we took during the test execution. This can be extremely helpful both for debugging and as a way to sanity check that our application is doing what it should.
Final thoughts
It is safe to say that our initial goal was accomplished and we were able to test our application. The whole setup didn’t take long and we went from having a single role test to scaling up in minutes. The whole journey was smooth and we didn’t even have to do anything extra to get the valuable performance data, machine statistics since all of that was provided on a silver plate by Loadero.
For WebRTC or any application which provides end-user interaction with one another on a large scale it is crucial to know that the application will perform as expected.
If your resources are limited and your internal infrastructure prevents you from doing large scale testing of your application, then Loadero might be for you.