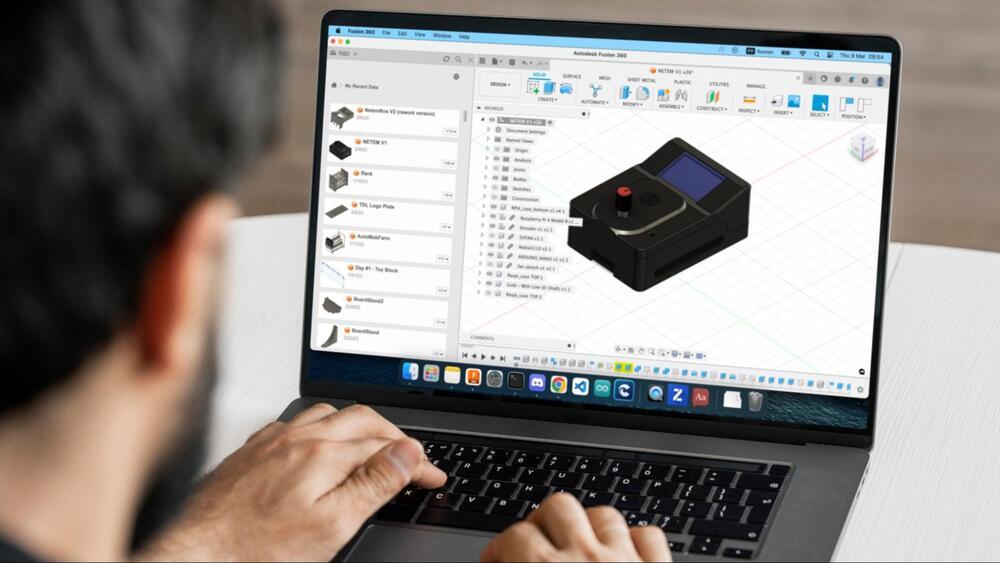
There are quite a few projects out there that let you create all sorts of systems using a Raspberry Pi at its core, but have you ever considered creating a Raspberry Pi access point with a controllable network environment and it all being wireless? More to that, would you be interested in this setup being compact enough that you could take it to the countryside with no power supply? In our Research and Development department, we have built one and it allows us to build and use a wireless controllable network environment. We call this setup the Netembox limiter. If you would like to find out more about what it is and how it works then we welcome you to dive into this article, because we are about to explain how it works.
What is a Netembox limiter?
We are basing this setup on a combination of Arduino and Raspberry Pi at its core, where Arduino provides us with controls and a display to make it easier to control, while Raspberry Pi acts as an access point that uses two wireless interfaces. We call this setup the Netembox limiter.
The Netembox Limiter is a TestDevLab designed and implemented access point that allows a limited network to be used in our test environments. This access point is used to test all sorts of devices and their performance under variable network conditions. A great advantage of the Netembox limiter is that it is ready to deploy instantly and does not require any additional wires except for a power supply, and even that can be replaced with a power bank, but more on that later. With this access point you can connect your mobile phones, laptops, IoT devices and even coffee machines that have a Wi-Fi connection, and all of these devices can be controlled in terms of their internet connection or set firewall rules if needed.
Let's talk about how it works. So, in order to control limitations such as bandwidth change or increases or decreases in packet loss, we use a rotary encoder (a button that allows you to twist and press it) and a display that allows us to navigate through the menu easily. This data is processed and later sent to Raspberry Pi by Arduino Nano. On Raspberry Pi we use Python script to receive this data and have it go through an event listener that would catch the change in data and send a command to bash script to execute a new limitation.

Why would you need the Netembox limiter?
If you are a software tester that specializes in audio and video testing, you may face a lot of scenarios that require you to run tests on all sorts of network limitations starting with numerous bandwidths—100kbps, 500kbps, 1mbps and so on. Additionally, there are packet loss simulations, such as 10% PL or 20% PL, which are quite difficult to handle by most communication apps. In order to eliminate testers' errors in setting up these limitations manually and to make this process slightly more efficient, our R&D department developed the Netembox limiter.
As a manual tester it is really important to achieve 100% accurate test conditions while testing. This can be achieved by a user-friendly interface in a compact environment that can control network conditions. To achieve more accurate and detailed test results, as well as an accurate VQTDL score in every single video test, it is critical to have these network limitations set quite specifically and accurately.
Another reason why the Netembox limiter is a great testing asset to audio and video testing teams is that it is quite easy to handle. Namely, since it can be used as a wireless stand-alone device with no additional wires connected to it, it can be easily implemented into a test environment with an ethernet cable used as an internet connection and monitor, plus a keyboard for more convenience. The possibilities are truly endless because in this age of technology, everything can be updated and reused as something else. One example would be using this access point as a portable VPN server—if you would like to see that happening, let us know.
Raspberry Pi setup
Let's talk a little bit about how the setup works, shall we? For this project we used Raspberry Pi 4 with 2GB RAM and an Arduino Nano. The first thing we needed to do was to install Ubuntu Server LTS version OS in order to control our router limitations. The initial setup process was quite fast and simple. First, we followed the Raspberry Pi Imager instructions and plugged the Raspberry Pi to a monitor and a keyboard—yes, the initial setup does require you to plug a few wires. Then, we followed several other instructions on getting the Raspberry Pi to work as an access point and enabled a second network interface as a separate wifi adapter dongle. We should point out that this part may be a bit tricky, as the technology is evolving constantly and the Kernel version may be updated. This can prove to be a problem since in such cases the instructions may be outdated and don't apply anymore or some libraries may no longer be supported.
The Wi-Fi adapter that we used for the setup was TP-Link AC-1300, but generally any modern adapter that is supported with Raspberry Pi's Kernel version and meets your requirements will do.
Another component of this system is an Arduino Nano which acts as a controller for the display and rotary encoder, the setup for this was quite easy. First, we flushed the Arduino sketch script inside of the Nano and then we connected the rotary encoder and the display, after which it was connected to the Raspberry Pi.
In order to keep this post from becoming a 10 pager we won't extend these instructions, but if you do have any questions on setting this up or you want to know how it all works in more detail, do let us know.
In the meantime, take a look at the video below where I explain what the Netembox limiter is and demonstrate how it works:
What's under the hood?
In this section, we will dive into the Python script and Arduino sketch that controls this whole system and have a glimpse of how it works. Since there are two parts—the Raspberry Pi computer and the Arduino microcontroller—we will discuss both of them in more detail.
Let's start with the Arduino which has a 1.8 inch display and a rotary encoder, both of which are controlled by the Adafruit_GFX and ClickEncoder libraries. These are used to control the network limitations. The data collected via the Arduino is sent to Raspberry Pi via USB.
The second part is the Raspberry Pi itself, which has the Python script that receives the data using Serial library and launches a bash script that limits the network using iptables. Also, we use Netplan to set up access points on Raspberry Pi and to configure the network with two wireless interfaces.
Evolution of the Netembox limiter
Originally, the Netembox limiter was designed to use a potentiometer slider and didn’t include a display. The idea was to use the slider and have a certain position on this slider to respond to certain limitations. This design proved to work and had potential for improvement, however, it had one major flaw—we couldn’t tell which limitation was on at the moment.
We wanted to make it more advanced and elegant by adding a rotary encoder with a display. The next version was developed with these updates and our focus group has since noticed improvements in the handling and usability of our access point. The slider version was not forgotten and proved to be useful too, as the learning curve of handling the slider is much lower and people who come across this device with no idea whatsoever on what it does tend to handle it quicker with a slider rather than with a rotary encoder. So the idea was to use this setup in IT-related exhibitions as a good example on how network limitations affect communication quality and the audience could interact with it easily.

One other thing that we had to implement when redesigning the setup was a custom designed 3D-printed case for the Raspberry Pi and Arduino to fit inside with all the necessary components. It had to be compact and at the same time comfortable to use in our test environments. Our engineers worked together with our designers throughout a few versions until it satisfied all the requirements.
Another feature that we worked on was making this setup fully independent. We achieved this by adding a possibility to connect to a hotspot from a mobile phone instead of from a router in order to provide the Raspberry Pi with an internet connection. And the good thing is that it performs similarly to conventional router internet, the only difference is the overall internet speed that mobile phones can provide.
At the same time we wanted to make it portable enough so that it is independent from a power supply source. For this we used a power bank as a power supply to be able to use the Netembox in completely remote locations. This proved to be particularly useful if the device is being carried around a lot and if it's not that easy to provide wired power supply in a test environment. An example of that would be when testing using our mobile laboratory. This idea, together with a mobile phone hotspot, collaborates greatly and provides a truly wireless and independent system.
Results
In order to better understand how it all looks and works, we have put together a small demonstration on our home webpage to illustrate how easy it is to set up and use this setup.
As mentioned above, we did manage to connect our Netembox limiter to a mobile hotspot. Here are some of the results comparing routers with mobile sim cards inside of them, with ordinary routers and our Netembox limiter connected to our internal TestDevLab network.

Overall, the network speed in the first version of Netembox looks impressive compared to the rest of the competition, but note that it is achieved on our internal network, where our internal network speed could reach much higher speeds. It is all subject to change even within a walking distance across the office, due to factors such as how busy the network is, which channels we use in config files, or what radio waves length we set. However, we managed to reach stable wifi speed at around 25mbps, which is more than enough for our day-to-day testing needs.
Key takeaways
Overall this project proved to be a really exciting one. It allowed us to improve the mobility and usability of network limitation processes for small test environments, as well as for other purposes that were listed in this article. As the test results show, this setup can be used in a relatively easy way and if you aren't afraid to use Linux CLI to build this setup, then it doesn't take much effort to do so.
However, this project also showed us that there should be a certain level of understanding of several aspects if you choose to build this setup from scratch. Things like knowing how to set up a network and work with Arduino and its communication ports, as well as coding in general in both Python and C++ is knowledge that you must have for these types of projects.
If put in retrospect, this Raspberry Pi access point does provide decent speed for streaming and is a great tool to be used in several small projects that involve a mobile laboratory, a remote testing environment, an IT exhibition, or if you need a portable access point to use in your local cafe.
Want to learn more about our Netembox limiter and how it works—or maybe you have a QA project where this setup may prove itself useful? We are only a message away. Contact us now.